
How to use the Poster Printers in the King Life Science and Unit 1 buildings
Printer is for use by Biological Science faculty, graduate students and staff only. Please contact computer-support@bio.fsu.edu if you have any questions.
If printing in the KIN 3077 computer lab use any of the computers in the room. Create your poster in PowerPoint, save it as a 'PowerPoint Presentation' or as a 'PowerPoint Picture Presentation', and have it with you on a flash drive, on your email, or locally on the lab machine.
**Note: if you did not use the right click and 'insert image' option when building your poster but instead used 'drag and drop' the poster printer may not print those images. You will need to watch your poster as it prints to make sure the printer does not leave off any images, text, or backgrounds.
Steps for printing a poster in the KIN 3077 computer lab or Unit I printing room
Open your file. In King use the computer in the first row closest to the poster printer. Populoar choices for poster formats are PPT (Powerpoint) and PDF (Acrobat).
From the top tool bar select 'File' and then 'Print' from the left side menu.
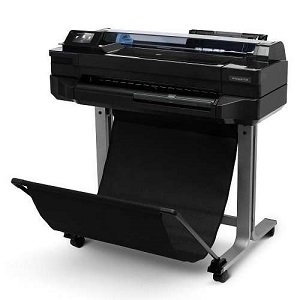
Under 'Printer' click the drop down and select the 'HP DesignJet T630' (KIN) or 'HP DesignJet T520' (Bio Unit I).
Next, underneath the printer select drop down box click the small text link labled 'Printer Properties'.
In the Printer Properties pop up, click the drop down box labled 'Document Size'. Scroll to the bottom of the list, if you have previously set up a custom size option for posters select that, if not click the '+ Create' button at the very bottom of the list. Name your new custom size settings 'poster' or something along those lines, change the width to be 48" and hieght to be 36" (48"x36" is the default poster size for most all posters, that said, the max width you can use is 56" and the max hieght is 36"), and save it/select it as the document size.
Back in the Printer Properties pop up, find the drop down labled 'Print Quality' and select the 'Best' option.
Next, if you would like you can turn on the toggle for 'Show Preview' if you would like to see a preview before it is printed.
Click the 'OK' button in the bottom of the Printer Properties pop up box to save the changes you have made.
Click the square 'Print' button.
Your poster should begin printing momentarily (it may take up to a minute or two for the poster printer to recieve your print job).
Once finished printing your poster will hang and dry while it is still attached to the poster printers roll of paper, DO NOT TRY TO PULL YOUR POSTER OFF, the printer will cut it free once it has dried for 5-10 minutes.
**Note: as mentioned above, you will need to watch your poster as it prints to make sure nothing was left off by the printer, if you see that something is not being printed at all or incorrectly cancel the print job as soon as possible.
If you need any further assistance printing a poster, Biology IT is located in King 2054.