
Adding your FSU email account to Mac Mail
This is only needed if you setup MacMail prior to 10:00am August 18th 2020. After that date this should be set all ready.
How to set up your @fsu.edu or @my.fsu.edu email account in Mac Mail, and how to set your outgoing email to show an @bio.fsu.edu address
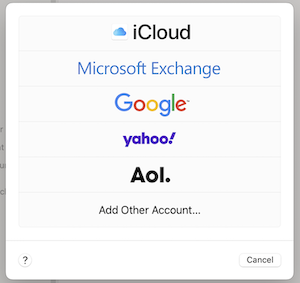
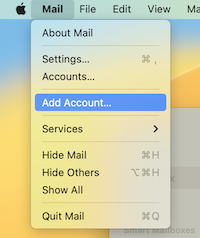
1. Open Mail. If it is your first time using Mail, select the 'Microsoft Exchange' option when prompted to choose a mail provider. If you have another account set up in Mail already, to add your FSU account, in the top nav bar click 'Mail'-->'Add Account...'-->'Microsoft Exchange'.
 OR..
OR..
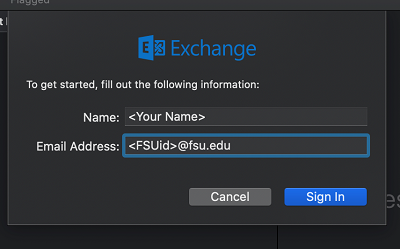
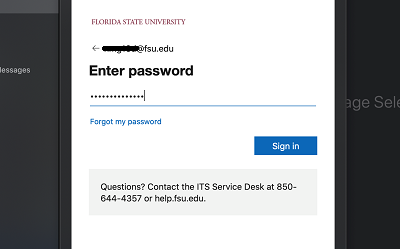
2. Fill in your information like the image below, and click 'Sign In'.
3. Next, click the 'Sign In' button when prompted to sign into Exchange.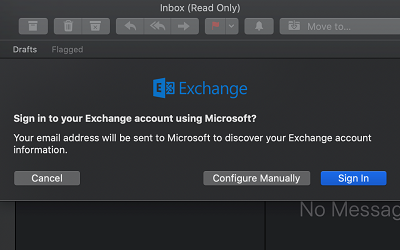
4. If prompted, select the 'Work or School account' option in the Microsoft window.
5. Now sign into your FSU email through the FSU sign in window. Use
**Note, at this point you may be prompted to authenticate with 2 factor authentication, if you need to set up a device for 2fa visit this link, scroll down and click manage devices button.
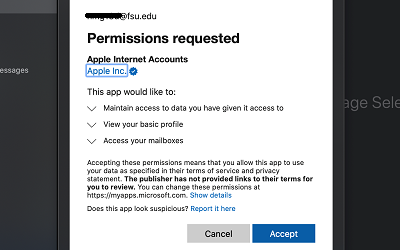
6. Next, if prompted, click the 'Accept' button on the terms of service agreement.
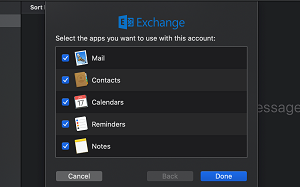
7. Now select the apps you want your account to work with, the 'Mail' option must be selected for email to work.
8. At this point your account should be added to Mac Mail!
Recomended Sync Settings
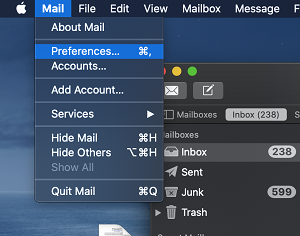
1. Open your Mail application, in the top nav bar click into the 'Mail' menu, and select 'Preferences'.
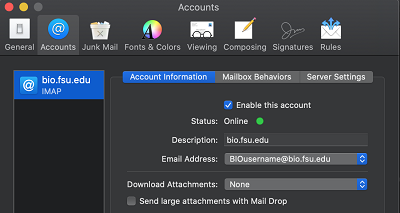
2. Click the Accounts icon and then select the account you would like to change the settings for.
3. Now click into the 'Account Information' tab and in the 'Download Attachments' drop down menu, select the 'None' option. This tells Mail to store attachments online until you actually
tell it to download the attachment.
Change Outgoing Server to 'Exchange'
2. Now click into the 'Server Settings' tab where you will see an 'Outgoing Mail Account' clickable dropdown menu, instead of selecting the 'Edit SMTP Server List...' option, select the 'Exchange (Exchange)' option.
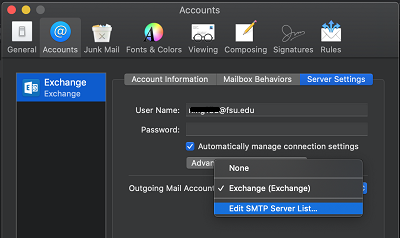
3. You should now be sending through the FSU email server.