Donate to the Department of Biological Science (Additional Biology donation options available by clicking "Choose a different designation?") Sheila B. Lutz Memorial Scholarship Dr. Ralph W. Yerger Lectureship |
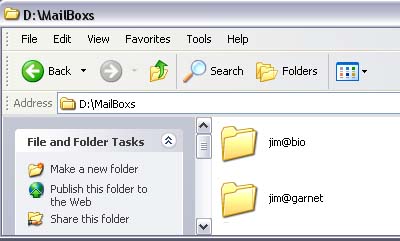
| Main | Labs | Hardware | Software | Help | Configuring Eudora for Multiple email accounts - Windows There are instances when you might want to access multiple email accounts, using Eudora, on one machine. For example, if you want to have multiple people check their email accounts from the same computer. Or you have both a biology email account and a garnet email account and want to check both of them using Eudora. If you do not have Eudora installed on your computer yet, please go ahead and install it. Step 1 - Create the data folders Create the folders in which to store the email data, one for each account. We recommend grouping the folders together in a parent folder. Create the parent folder first. These instructions will use D:\MailBoxs for the parent folder. Inside the parent folder create a folder for each email account to be accessed. These instructions will use the email address with out the domain name for the folder name. So if the first account is jim@bio.fsu.edu you would create a folder named jim@bio in the parent folder. Create folders for the other account(s), so if you wish to setup another email account like jim@garnet.fsu.edu you would create a folder called jim@garnet inside the parent folder.
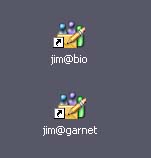
Step 2 - Create the shortcut icons Click on your “Start” button and go to Start->Programs->Eudora, right click on the Eudora icon and choose “Copy” from the context menu. Paste the icon on your desktop or other location by right clicking and choosing “Paste”. Rename the icon to the name of the folder created in the above step (ie, jim@bio). Paste icon and rename for the other email account(s).
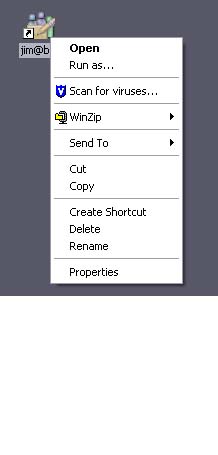
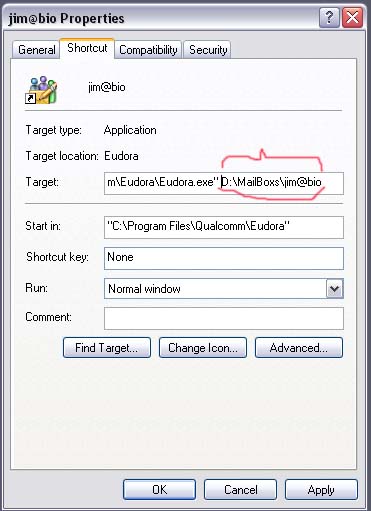
Now you should have folders for each email account (ex D:\MailBoxs\ jim@bio and D:\MailBoxs\jim@garnet) in parent folder. And you should have two Eudora shortcut icons with names based on the folder names (ex jim@bio and jim@garnet) on our Desktop. Now we need to tell each icon to use the proper folder, to do that right click on jim@bio icon on your desktop and go to Properties. Add to the end of the contents of the Target field the location of the email data folder; (ex, D:\MailBoxs\jim@bio). There should be at least one space (we use two) between the "C:\Program Files\Qualcomm\Eudora\Eudora.exe" and the email data folder location. If the email data folder location contains a space enclose it in double quotes, for our example this is not necessry. Repeat step 2 for the other Eudora icon(s) you have created.
Step 3 - Configure Eudora accounts Double click one of the new renamed Eudora icons to start Eudora. Configure Eudora for the email account (help for biology accounts at: https://www.bio.fsu.edu/complabs/eudora.php). Repeat for each Eudora icon/account.
|