Donate to the Department of Biological Science (Additional Biology donation options available by clicking "Choose a different designation?") Sheila B. Lutz Memorial Scholarship Dr. Ralph W. Yerger Lectureship |
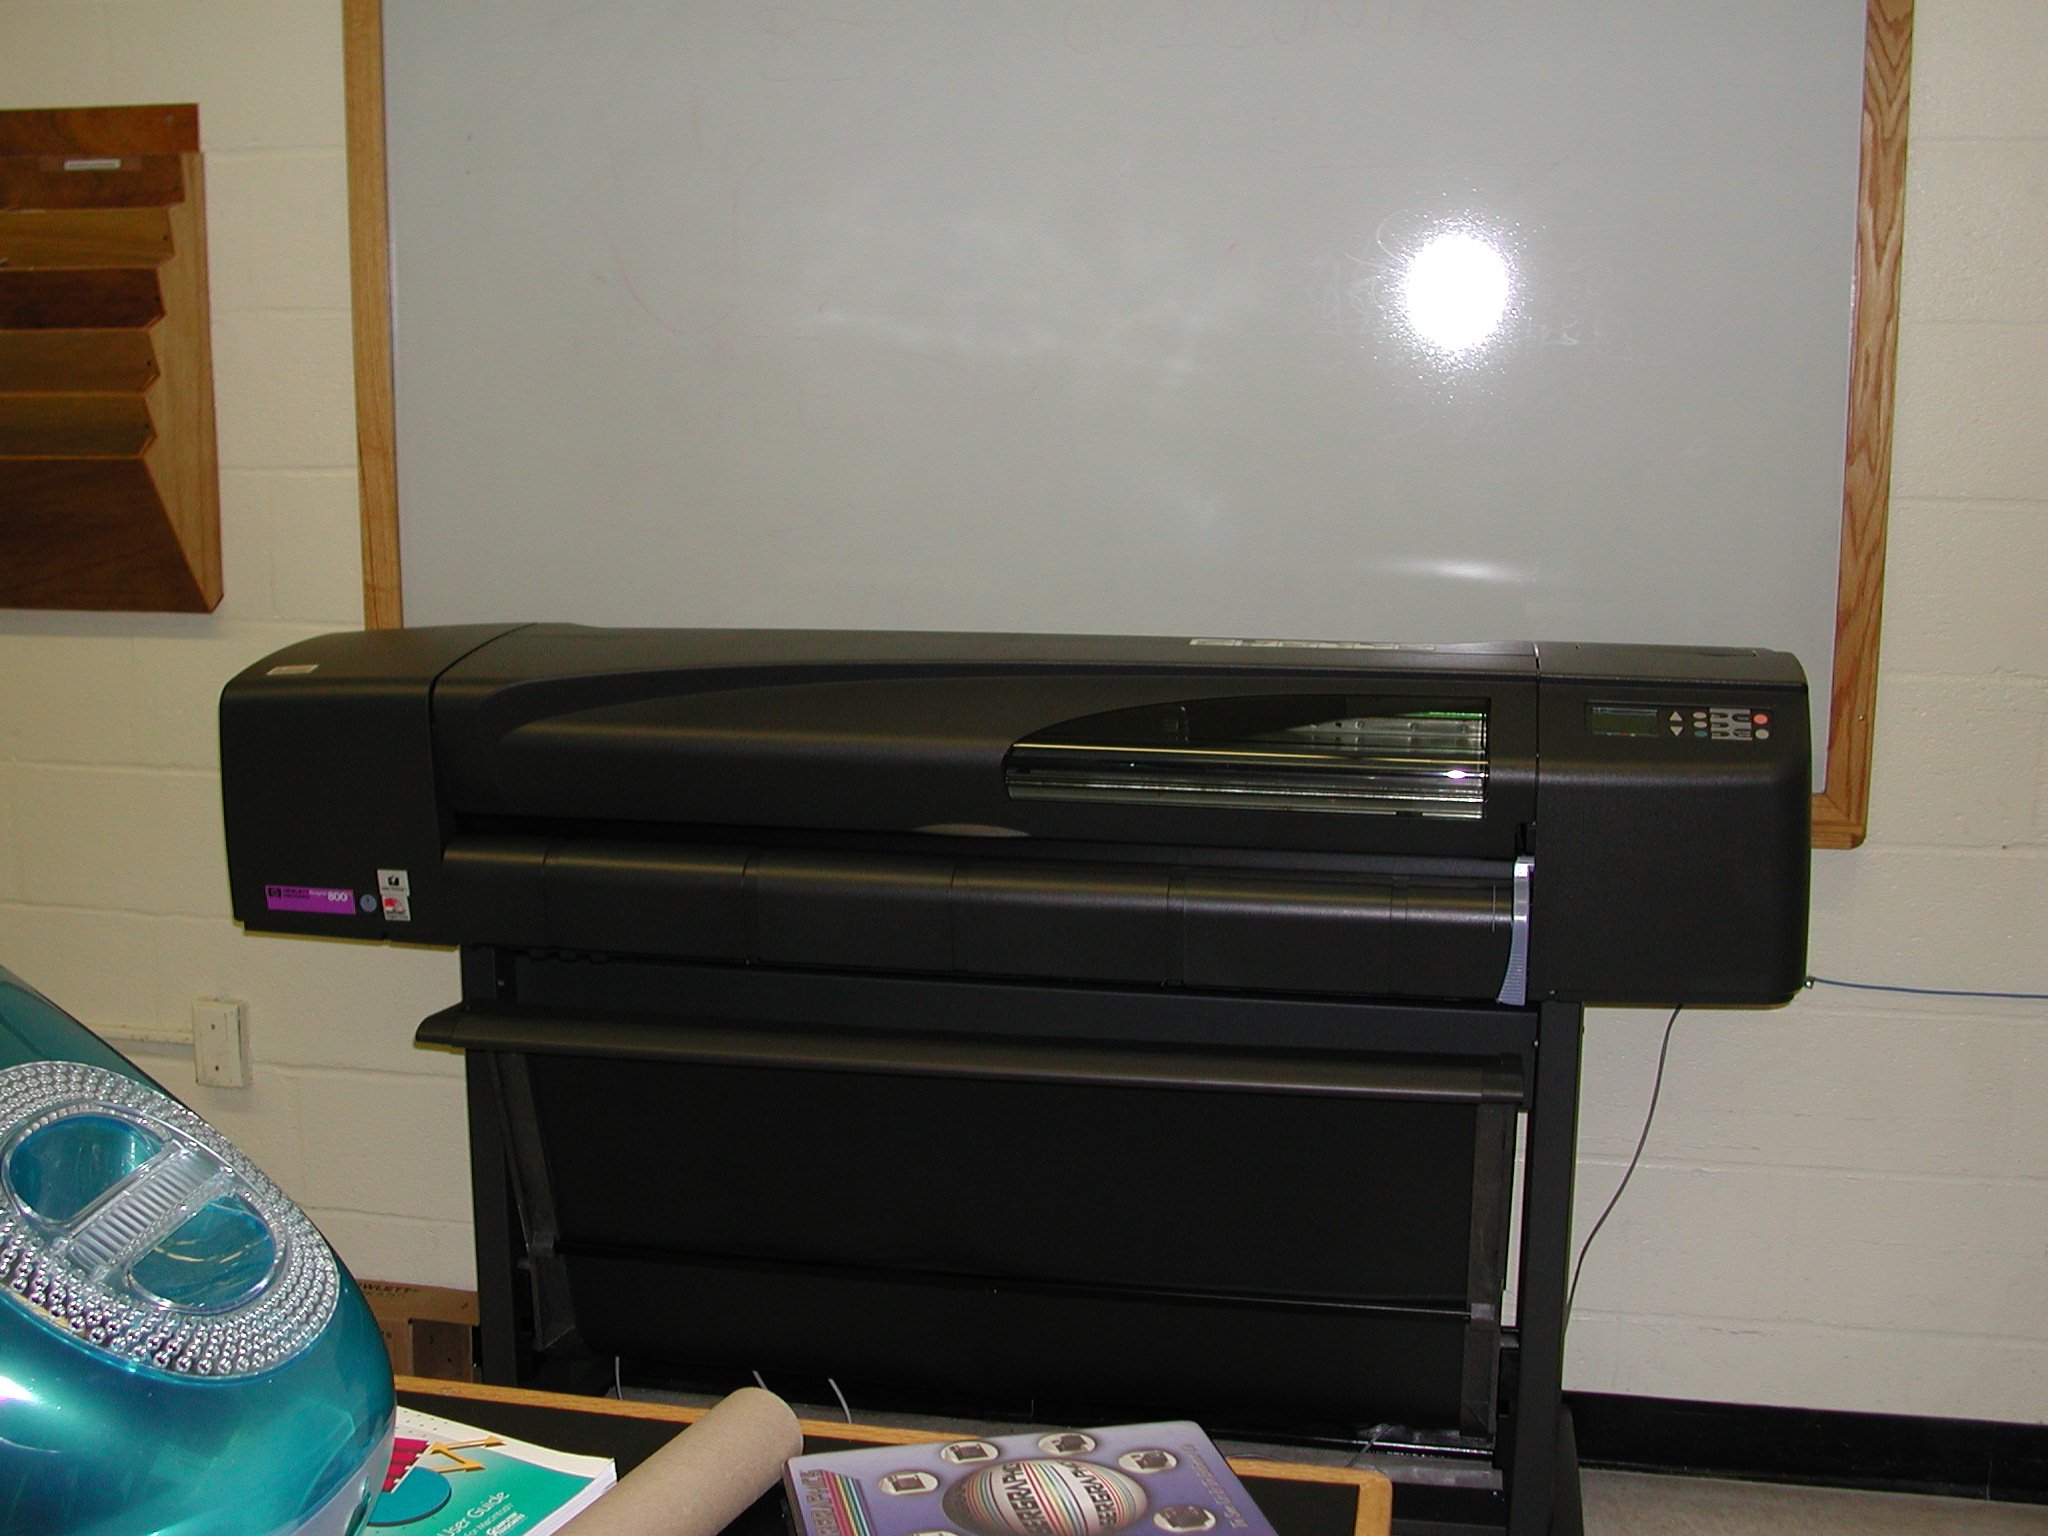
UNIT I POSTER PRINTER | Main | Labs | Hardware | Software | Help | Using the Poster Printer Steps to creating a
poster using power point.
Notes: - Max page width in PowerPoint is 56". Make sure and set the width in step 5 to the same value as the page width you use in PowerPoint (step 1). - Use the color wheel on the cork board and the color wheel under Format->Color->More Colors to choose your colors. This will result in you getting the colors you expect. - If poster does not print, cancel print job, turn off printer, turn on printer and resend print job. |