Computer Support Facilities - Software - Eudora 5.2 for Mac OS X
-->
Installing & Configuring Eudora 5.2 for Mac OS X
| Main | Labs | Hardware | Software | Help |
Installing Eudora
- You can obtain Eudora 5.2 from the following URL: http://sl.us.fsu.edu/free.html
- After "Eudora52_osX.hqx" has downloaded, double click
it. Another file should show up.
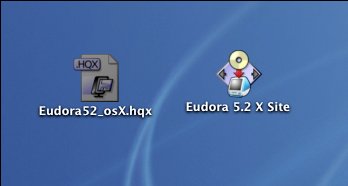
- Now double click on the file labeled "Eudora 5.2 X site"
- Click the "Continue" tab. Click the next
"Continue" tab. Finally, click on "Agree". The
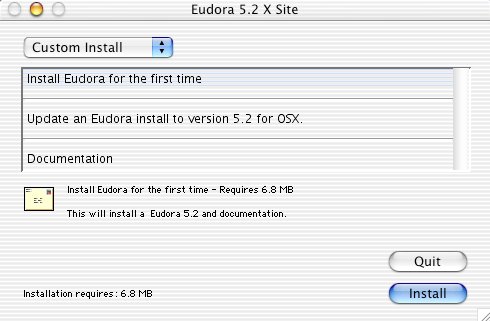
"Custom Install" dialog box will appear.
- Highlight the first option (Install Eudora for the first time) and click
the "Install" tab. If you are upgrading from an older version of Eudora, please see someone in the computing office.
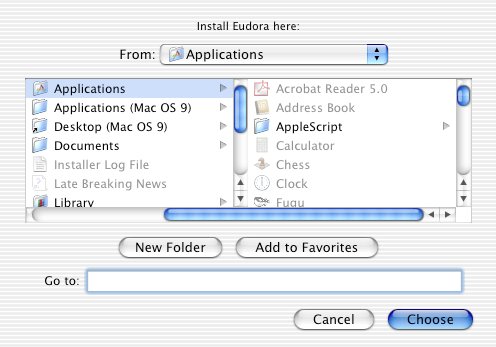
- After you click the "Install" tab, Eudora will prompt you to
choose a directory. Highlight Applications, and click the
"Choose" tab.
- Eudora is now installed on your computer.
Configuring Eudora
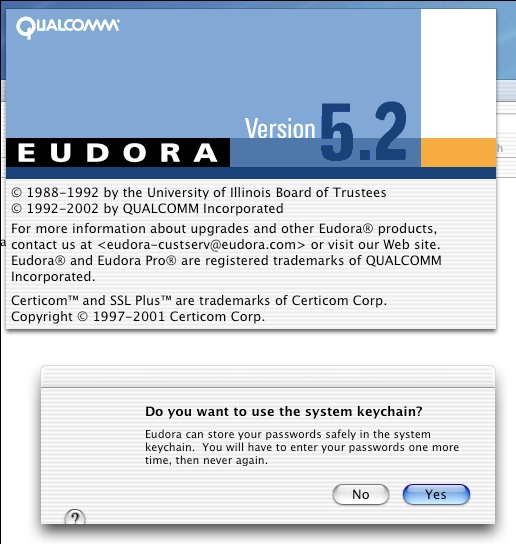
- The first time you run Eudora, it will prompt you to add your passwords into
the system keychain. Click the "Yes" tab.
- Now, while in Eudora, go up to Eudora - Preferences.
Please note that this dialog box may show up by default the first time your run Eudora.
- In preferences, select Getting Started (selected by default).
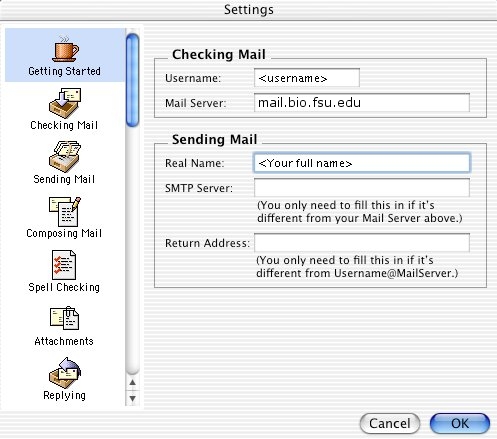
- Enter your username
- Enter "bio.fsu.edu" in the mail server entry
- Finally, enter you full name in the real name entry
- In preferences, select Checking Mail.
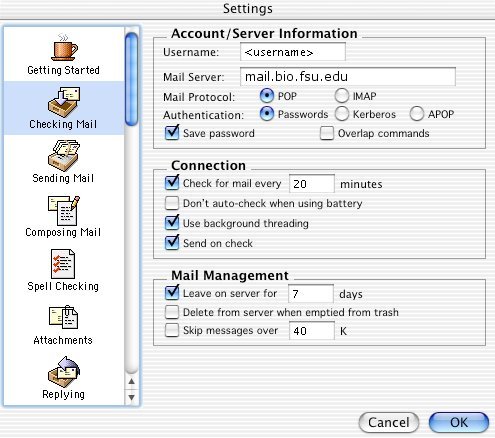
- If it isn't already, set the mail protocol to POP
- Place a check mark in the "Save Password" box
- Under connection, set Eudora to check for mail every 20 minutes
- Finally, under mail management, set Eudora to leave your mail on
the Server for 7 days
- In preferences, select Attachments.
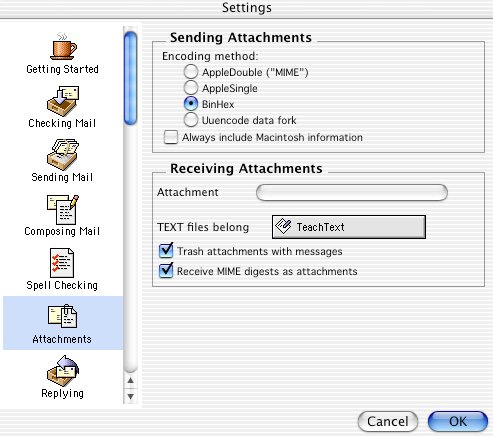
You may specify a directory to hold your
attachments. Or you can leave it blank and it stores them in a default
location.
- In preferences, select Fonts & Display.
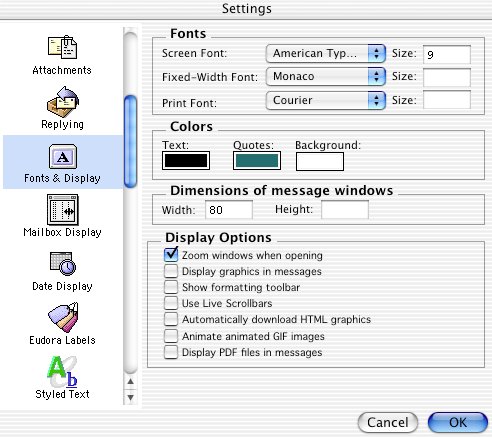
- Take the check out of the "Automatically download HTML
graphics" box.
- Take the check mark out of the "Display graphics in messages" box.
- Take the check mark out of the "Display PDF files in messages" box.
- In preferences, select Mailbox Display.
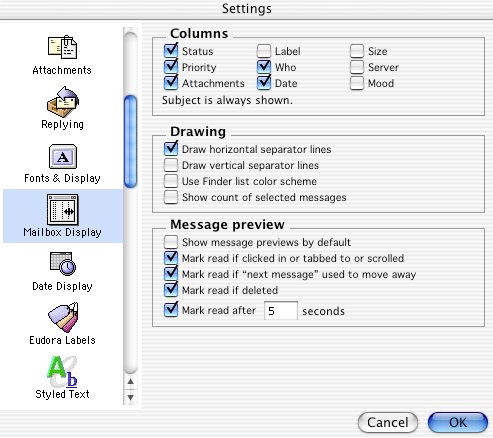
- Take the checks out of the boxes labeled "Size",
"Label", "Server", and "Mood"
- Also, take the check out of the box labeled "Show
message previews by default".
- In preferences, select Mood Watch.
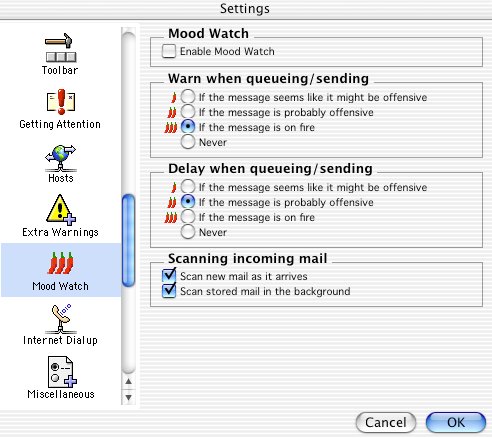
Take the check out of the box labeled "Enable Mood Watch"
- In preferences, select SSL.
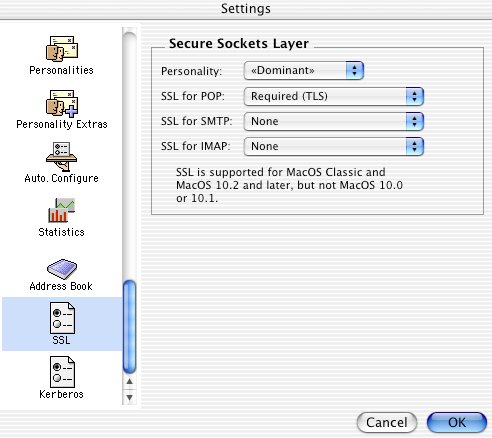
IMPORTANT: Change the "SSL for POP" selection to
"Required (TLS)". If you don't do this, you won't be able to get your mail at all.
After these changes are made, click the
"OK" tab to save them.
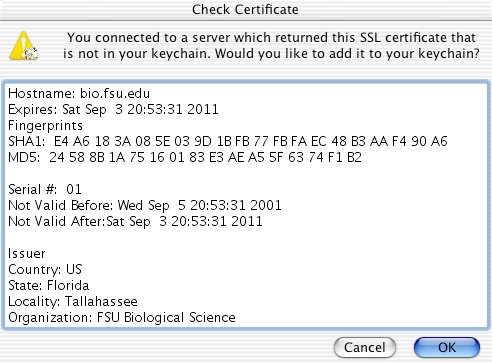
- Click on Check Mail. The first time you check your mail, you will be
prompted to add this email certificate to your keychain. Click the Ok
tab. You're done!!!