| Main | Labs | Hardware | Software | Help |
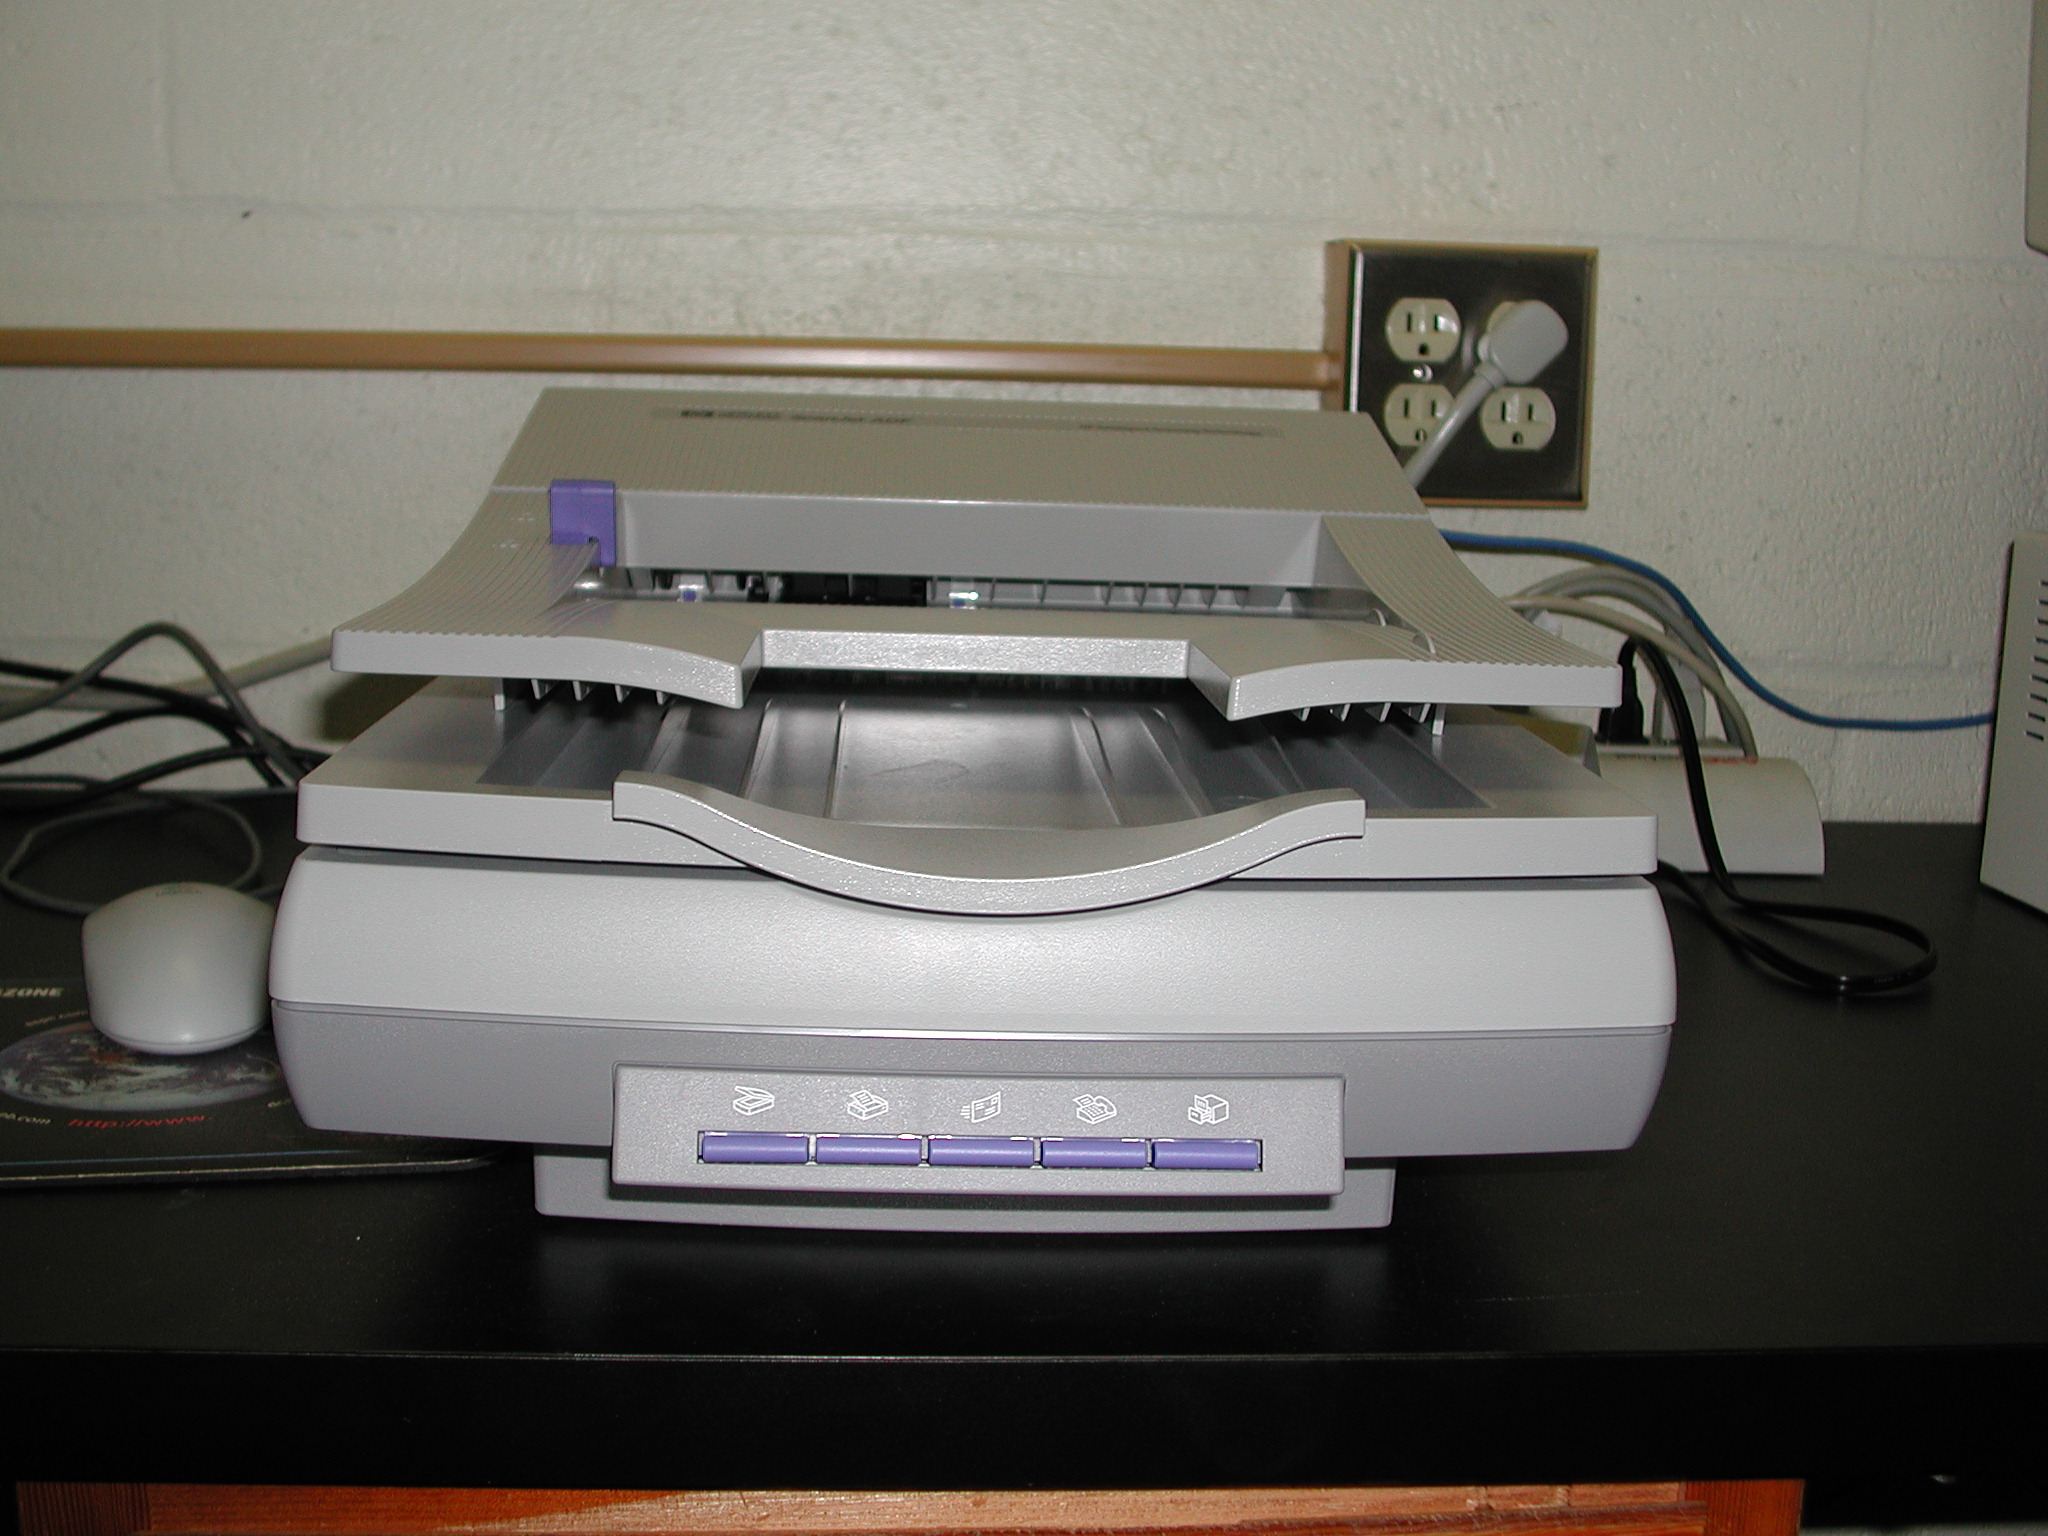
SCANNER
Using the Scanner

-- These directions assume you are going to save to the Desktop. You can also save to
folders if you know how to navigate on a PC
Make sure that the scanner is turned on. Log on to the
PC connected to the scanner.
Select Start -> Applications -> HP
PrecisionScan Pro.
HP PrecisionScan Pro starts.
Open scanner lid and place item to be scanned face down on the glass
with the top left corner against the top right corner of the glass.
Click on Scan -> Preview.
Select part of the scanned image by dragging a box around the exact area
you wish to scan
To make it easier for you to work with your selection,
zoom into it by clicking on Scan -> Zoom.
Click on Output Type. Then click on one of the choices
that makes you image look the best.
If you need to scan at a higher resolution, click on
Tools -> Output Resolution and select a resolution. Remember, a
higher resolution will result in a larger file size.
Click on Scan -> Save As. Click the Desktop button (this causes your file to be saved to the desktop).
Type in a file name, select a file type and click the OK button. An icon representing your file should appear
on the desktop.
If you wish to convert your file to another format such as gif
or Jpeg follow these instructions.
If using Photoshop and want to convert to a gif
format then do the following:
Choose File->Open, and the Open dialog box appears.
Click on the name of the file that you want to convert to a gif
extension one time, and then click the open button.
Chose File-> Export->gif.
When the Save dialog box appears click the Save
Button.
Photoshop automatically converts the defualt extension *.psp
to *.gif.
To change convert to any other format just follow the instructions for
then:
Choose File->Open, and the Open dialog box appears.
Click on the name of the file that you want to convert to a gif
extension one time, and then click the open button.
Choose File-> SaveAs.
When the Save dialog box appears type in the
name you wish to save your file.
Then at the bottom of the dialog box chose your desired format from the
drop down box.
Then click the Save button.
If using PaintShop Pro do the follow the instructions a-f
right above
-- Please turn off scanner when you are done.

