
Setting up Outlook 2007 or 2010 (via IMAP protocol)
 How to set up Outlook 2007 or 2010 to work with your bio.fsu.edu email account
These instructions were originally written for Outlook 2007, but should apply almost unchanged for Outlook 2010. The images are from Outlook 2007, so what appears on your screen may be slightly different.
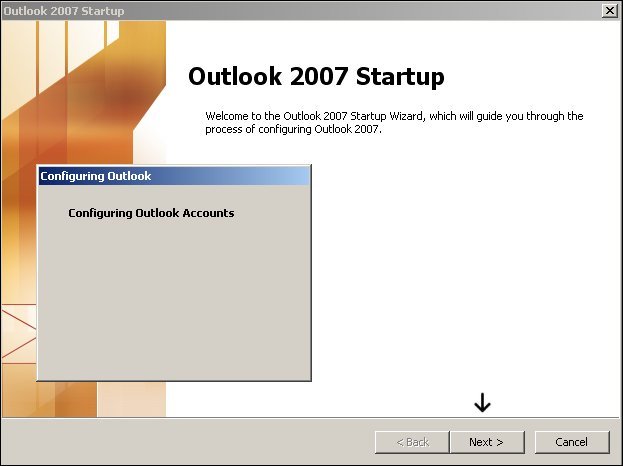
1. The first time you start Outlook 2007, you'll be prompted with the Startup screen. Click 'Next' to continue.
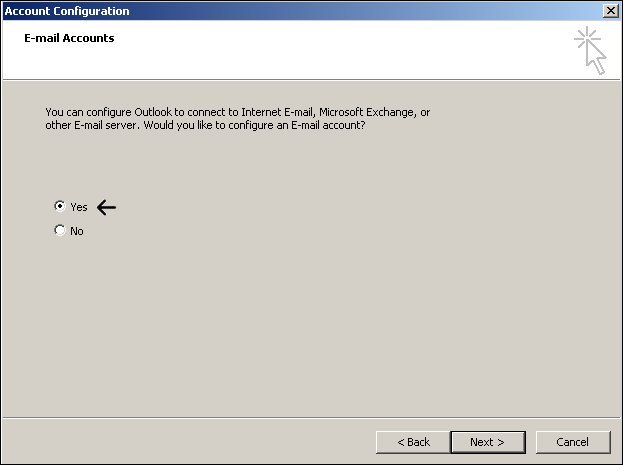
2. The next screen will ask you if you'd like to configure an email server. Select 'Yes' and 'Next' to continue.
3. You are immediately prompted for information. Instead of filling this out, select
Manually configure server settings or additional server types at the bottom. Click
Next to continue.

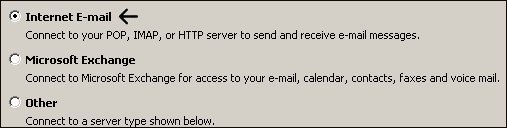
4. Select Internet E-mail.
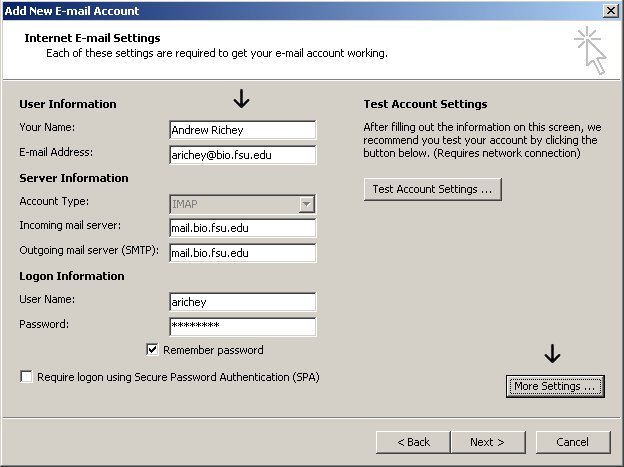
5. Now fill in the following: your name, bio email address, bio username and password. Also, put
mail.bio.fsu.edu for both incoming and outgoing mail server. Before
clicking Next, click More Settings.
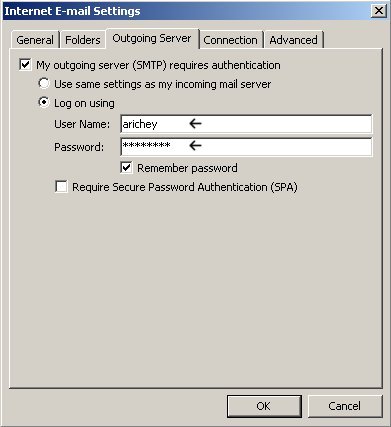
6. Click the Outgoing Server tab. Put a check in My outgoing server
(SMTP) requires authentication. Select Log on using and type in your
bio username and password. Once that is done, click the Advanced tab.
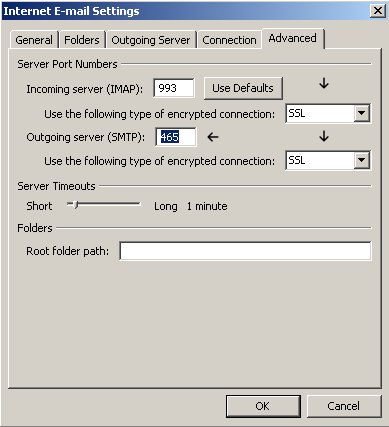
7. In the Advanced tab, change the Incoming server connection type of SSL. Then change
the Outgoing server connection to SSL. This should change the incoming server port to 993, but
you will likely have to manually change the outgoing server port to 465.
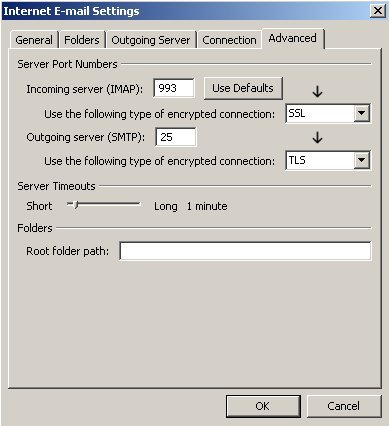
NOTE: if you are unable to send mail with this configuration, you can also set the outgoing mail server
to use TLS and port 25. This isn't the preferred method, but it should work in case your ISP blocks certain SMTP
ports.
Click OK to accept these changes.
8. You are taken back to the Add New E-mail Account window. Click Next and then
Finished.
Change Default Folder
Depending on your configuration, you may find that when Outlook starts up, the first folder it shows you is not the one you would like. You can change that setting.
If you are using Outlook 2007, select the Tools menu, select Options, select the Other tab, click the Advanced Options button, find the field labeled Startup in this folder:, click the Browse button, and pick the folder you'd like to see first at startup.
If you are using Outlook 2010, select the File menu, select Options, click Advanced, find the field labeled Start Outlook in this folder:, click Browse, and select your folder of choice.
Checking for New Mail
To check for new mail go to Tools - Send/Receive - Send/Receive All
or you can also hit the F9 key on your keyboard every time you want to check for new mail.